
Care and cultivation of ranunculus in the garden
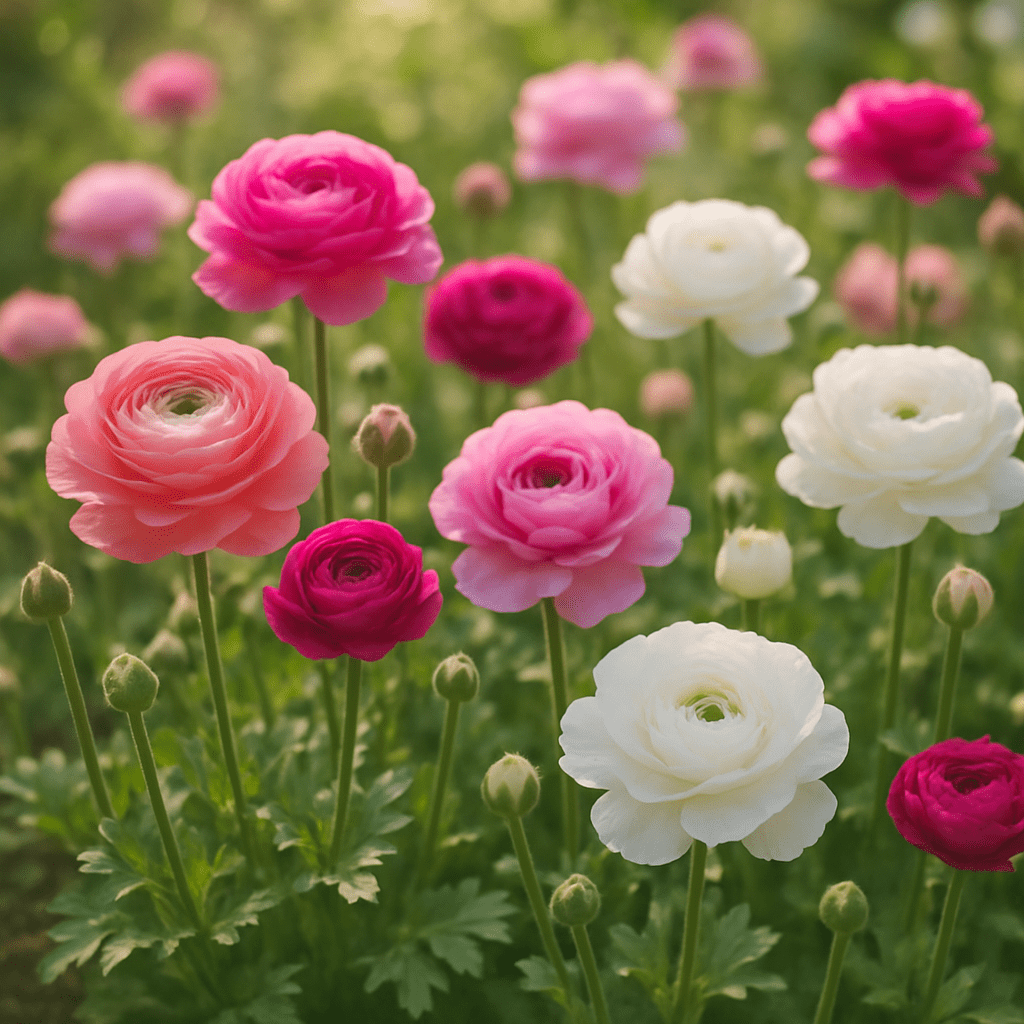
Hardly any other plant heralds spring with such an impressive splendor of color and form as the ranunculus (Ranunculus asiaticus). With its densely filled, rose-like flower heads, it catches everyone's eye in any garden. In international floristry, they have long been indispensable and are considered long-lasting wedding bouquet fillers (long-lasting filler material for wedding bouquets). But you can also use these in your own garden bed or on the balcony vibrant multi-petaled spring blooms (bright, densely filled spring blossoms) easily grow them yourself if you follow some basic care instructions.
In this comprehensive guide, you will learn everything you need to know about planting, caring for, and overwintering ranunculus.
The perfect ranunculus location and optimal soil preparation
Success in breeding always begins with choosing the right location. The ideal Ranunculus location is bright, airy, and protected from strong winds.
When gardeners worldwide talk about full sun vs. partial shade requirements (Requirements for full sun versus partial shade) there is broad agreement: Ranunculus love the sun, but cannot tolerate extreme summer heat. A sunny to partially shaded spot is ideal. In locations with very hot afternoon sun, a spot in the light shade of a tree is recommended to protect the delicate petals from burning.
In addition, the plant has specific requirements for the soil. It absolutely needs well-draining soil for spring perennials (well-draining soil for perennial border plants). Heavy, clay soil should absolutely be loosened with sand or fine gravel. Only then can excess rainwater drain away quickly.
Planting: How to Start the Season Successfully
Many gardening novices often look for tips under the term To grow flowers from corms: First, choose a suitable location. Most corm-producing flowers prefer full sun, meaning at least six hours of direct sunlight per day. The soil should be well-draining; corms can rot if they sit in waterlogged soil. Amend heavy clay soil with compost or other organic matter to improve drainage. Next, prepare the soil. Loosen the soil to a depth of about 8-12 inches. Remove any weeds or rocks. Plant the corms. The depth and spacing will vary depending on the type of corm, so it's best to check the specific plant's requirements. However, a general rule of thumb is to plant corms about 2-3 times as deep as they are tall, with the pointed end facing up. Space them according to the mature size of the plant. Water the corms thoroughly after planting. Mulch the area. A layer of mulch will help retain moisture, suppress weeds, and regulate soil temperature. Water regularly. Keep the soil consistently moist, but not waterlogged, especially during the initial growth period and when the plant is flowering. Fertilize if necessary. Depending on your soil's fertility, you may want to fertilize. A balanced, slow-release fertilizer can be applied at planting time or when the first shoots appear. Follow the fertilizer package instructions. Control pests and diseases. Monitor your plants for any signs of pests or diseases and address them promptly with appropriate treatments. Allow the foliage to die back naturally after flowering. This allows the plant to store energy in the corm for the following year. Do not cut the leaves until they have turned yellow and withered. For overwintering, depending on your climate and the specific corm, you may need to dig them up after the foliage has died back and store them in a cool, dry place. Some corms are hardy enough to remain in the ground in milder climates. (how to grow ranunculus from tubers), as the storage organs of the ranunculus – the so-called Ranunculus corms – at first glance look more like small, dried-up spider legs.

The insider tip before planting
To give little claws the best start, professionals use a trick: Soaking dormant claws before planting (Soaking the dormant claws before planting).
- Soak the hard buttercup tubers in room-temperature water for about 3 to 4 hours.
- You will find that they soak up water, almost double in size, and become plump.
- This step awakens the plant from its dormancy and greatly accelerates root formation.
The right time
A common question is: Cool-season flowers can be planted in the fall or early spring. (When to plant cool-season flowers)? In mild wine-growing regions, you can plant the bulbs as early as autumn. However, in colder regions with severe frosts, planting in early spring (March to April) is recommended, as soon as the soil is frost-free. Plant the bulbs with the „claws“ facing down, about 5 centimeters deep into the soil.
Care: Watering, Fertilizing, and Pruning
As soon as the first green shoots break through the earth, the active growth phase begins. Careful attention is now required.
Watering with a gentle touch
Ranunculus require consistent moisture but are extremely sensitive to waterlogging. The absolute main goal when watering is preventing root rot in garden beds (Avoiding root rot in the garden bed). It's best to water plants directly at the base in the morning and allow the top layer of soil to dry slightly between waterings.
Nutrient supply
For lush blooms, the ranunculus needs energy. Work some compost into the soil when planting. Once the first buds appear, it is recommended to give organic fertilizer for bulbous plants (organic fertilizer for bulb and tuber plants). This provides slow-release nutrients such as potassium and phosphorus, which promote flowering without unnaturally promoting leaf growth.
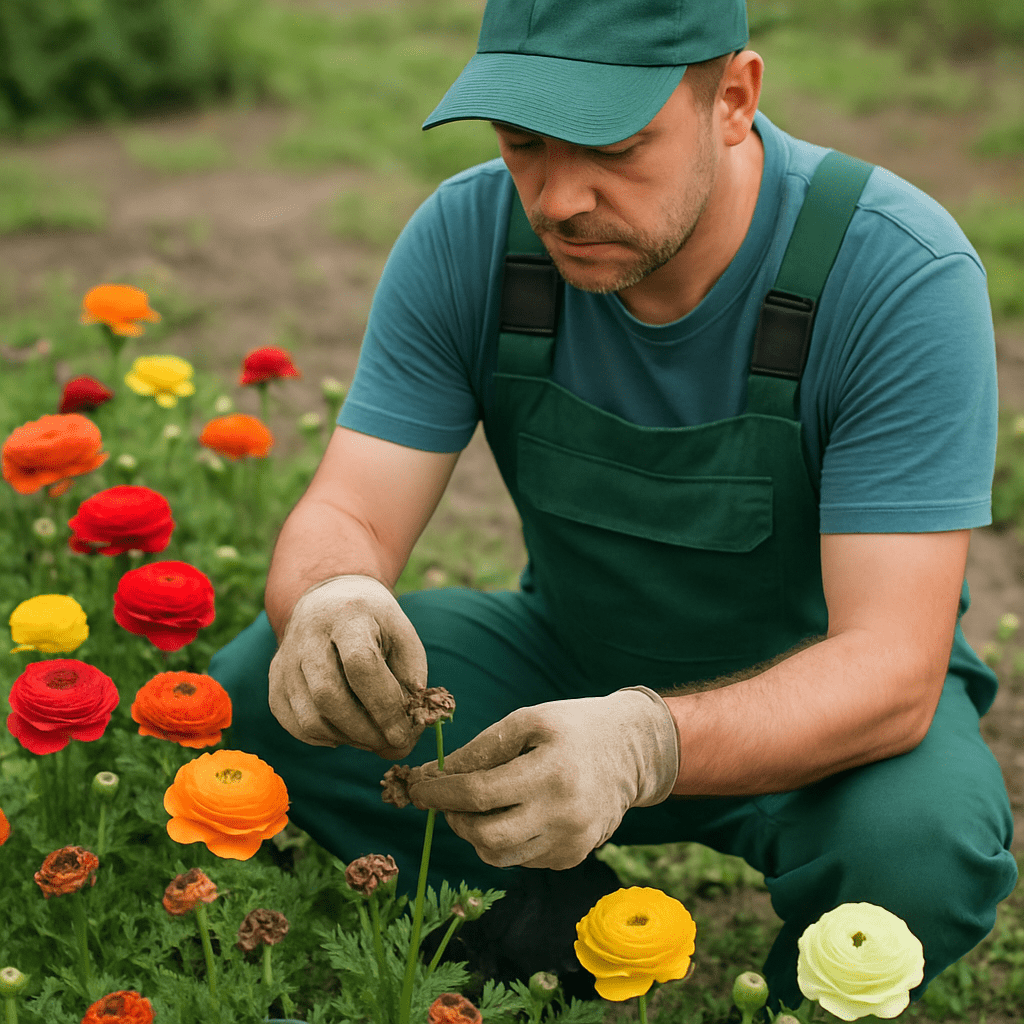
Pruning and frost protection
So that the plant doesn't put its energy into seed production, don't forget one care step: Deadheading for continuous flowering (Removing faded flowers for continuous blooming). Regularly cut off faded flower stems close to the ground. This encourages the plant to produce new buds for weeks.
Since spring is often characterized by unpredictable weather swings, you need to watch out for late frosts. Protecting young shoots from frost Protecting young shoots from frost is best achieved by loosely covering newly sprouted plants with garden fleece on cold nights.
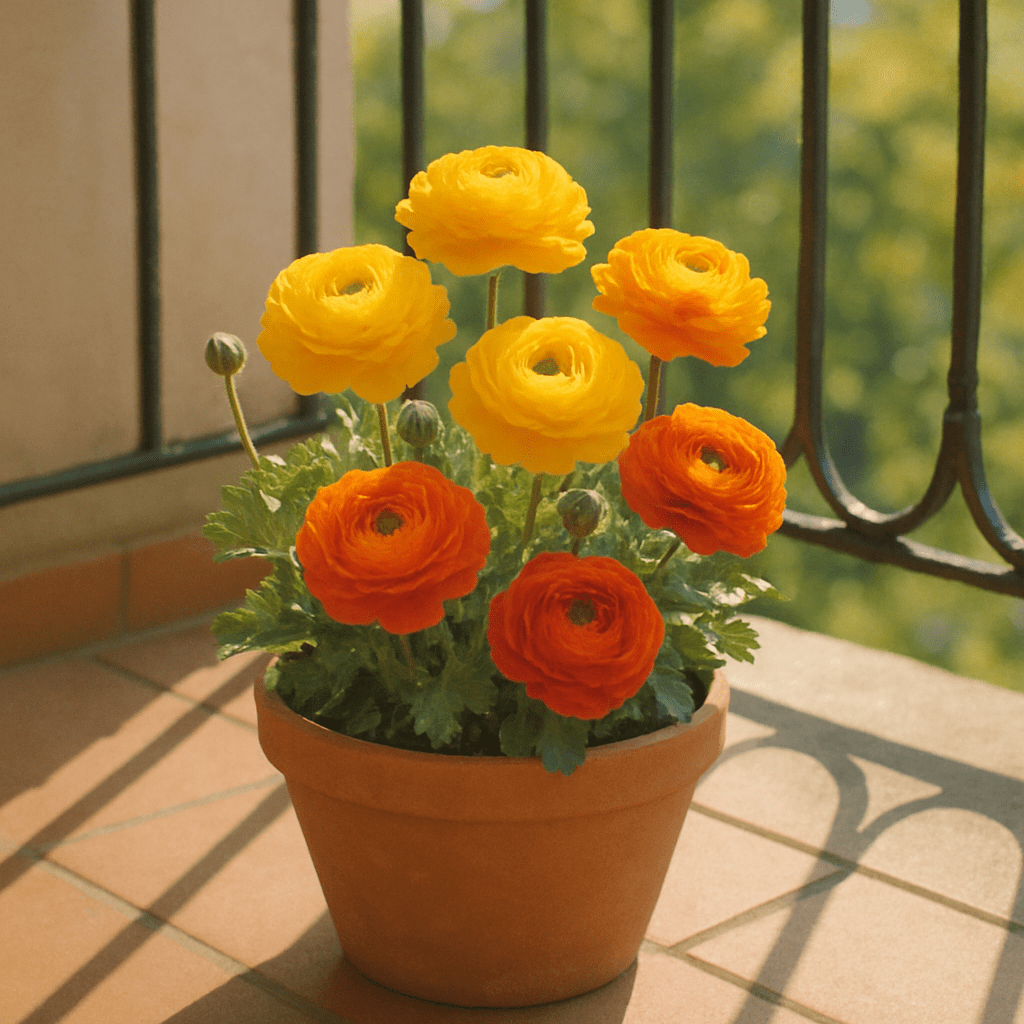
Ranunculus on the balcony and terrace
Not everyone has a large garden available. Fortunately, the ranunculus is perfectly suited for Container gardening for balcony displays (Container Gardening for Balcony Decorations). When planting in containers, pay attention to the following:
- Large drainage holes The pot must be able to drain excess water immediately.
- Drainage layer Fill the bottom of the container with a layer of expanded clay or gravel.
- High-quality substrate Use a loose potting mix, mixed with some sand. The soil in pots warms up faster, which is why balcony ranunculus often bloom earlier than their relatives in the garden bed. However, pay special attention to regular watering here, as pots dry out faster.
Repel pests and diseases
How many spring bloomers, like ranunculus, can also be visited by unwelcome guests. If you were to look internationally regarding Common pests affecting garden tubers include: * **Aphids:** Small, soft-bodied insects that feed on plant sap, weakening the plant and potentially transmitting diseases. * **Cutworms:** Larvae of moths that chew through young plant stems at the soil line, often cutting them down. * **Flea beetles:** Small, dark, hopping beetles that chew small, round holes in leaves. * **Wireworms:** Larvae of click beetles that bore into tubers, creating tunnels and making them unmarketable. * **Grubs:** Larvae of various beetles and chafers that feed on plant roots and tubers. * **Slugs and Snails:** Mollusks that leave slime trails and chew irregular holes in leaves and tubers. * **Spider mites:** Tiny arachnids that suck sap from plants, causing stippling and yellowing of leaves. * **Root-knot nematodes:** Microscopic roundworms that infect plant roots, causing galls and hindering nutrient uptake. * **Colorado potato beetles:** Adult beetles and their larvae that defoliate potato and tomato plants. * **Earwigs:** Nocturnal insects that can damage leaves, flowers, and tubers, especially in moist conditions. (common pests of garden tubers) informs, usually encounters three main enemies:
- Aphids They enjoy sucking on the fresh, soft shoots. A strong jet of water or a soap solution quickly remedies the situation.
- Snails Especially in damp spring weather, snails love the delicate buttercup leaves. A snail fence or collecting them in the early morning hours will protect your plants.
- Voles You've got your eye on the nutritious tubers. Wire planting baskets offer the best protection in the garden bed.
Overwintering: How to Save Your Tubers for Next Year
Ranunculus are generally not completely hardy in our latitudes (they can only withstand light frost down to about -5°C). Therefore, the storing tender tubers over winter (Overwintering sensitive tubers) an essential step for perennial enjoyment.
Once the foliage is completely yellow and dried out in early summer, the plant has withdrawn all nutrients back into the tuber.
- Carefully dig up the ranunculus tubers.
- Cut off the dry leaves.
- Let the claws dry thoroughly in a warm, shady place for a few days.
- Then store them in a breathable paper bag or a box with dry sand in a cool, dark, frost-free place (e.g., the cellar).
Next spring, you can start the cycle all over again by soaking it again!
Conclusion: The most important Persian buttercup cultivation tips at a glance
Whoever adheres to the basic Persian buttercup cultivation tips (Tips for Growing Persian Ranunculus) will be rewarded with a true sea of flowers. In summary, these are the golden rules:
- You must soak the tubers before planting.
- Ensure well-draining soil to prevent rot.
- Choose a sunny to partly shaded, sheltered location.
- Regularly deadhead spent blooms to prolong the flowering period.
- Dig up the tubers before the first hard frost.
With a little love and attention, ranunculus flowers transform any flowerbed or balcony into a picturesque spring landscape. Dare to try these fascinating plants – the sight of their magnificent blooms will reward every bit of work in the garden!